
 WATERPROOFING
 CONCRETE
 EPOXY PAINT
 ANTI-CORROSION PAINT
 ANTI-STATIC EPOXY PAINT
 STRUCTURAL BONDING
 CHEMICAL ANCHORS
 CONCRETE REPAIR
 REFURBISHMENT
 CEMENT TILE ADHESIVE

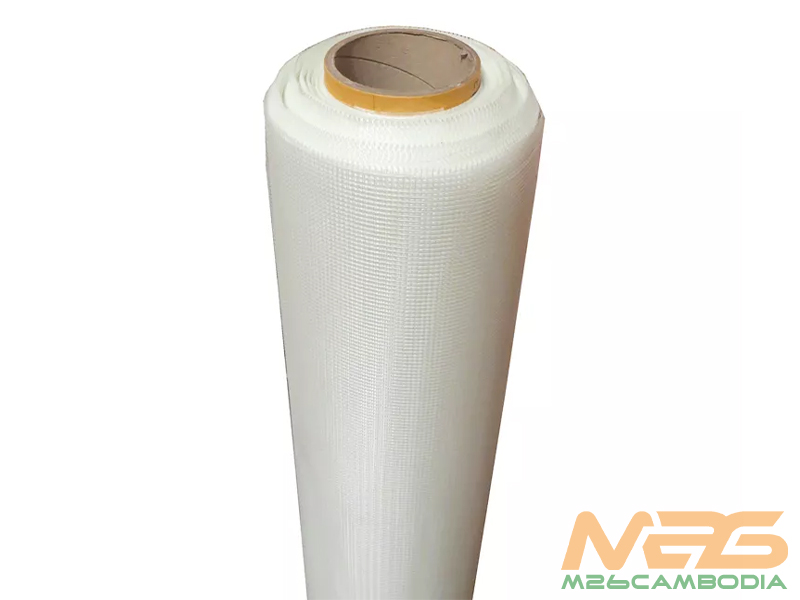
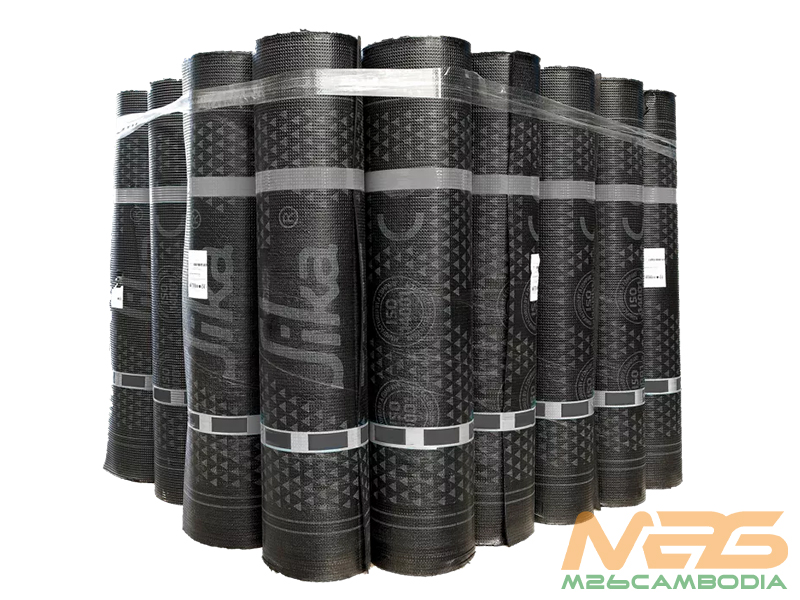
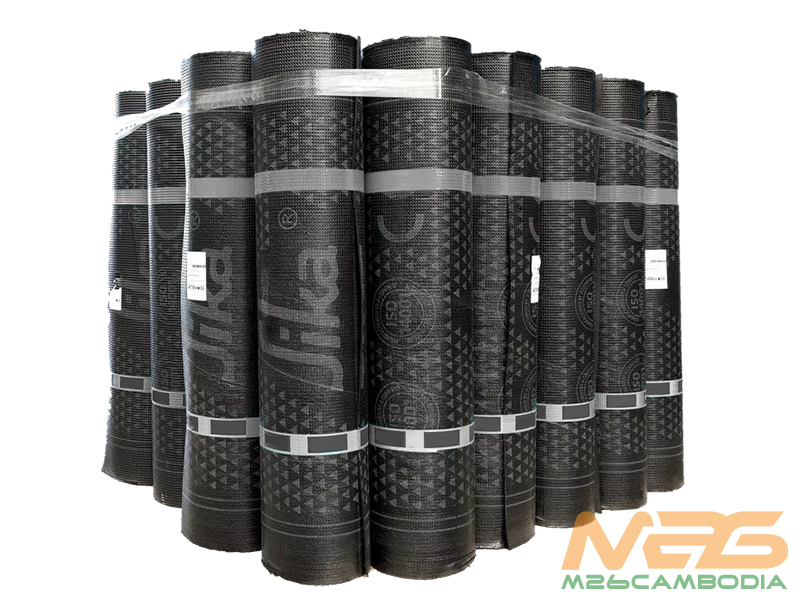
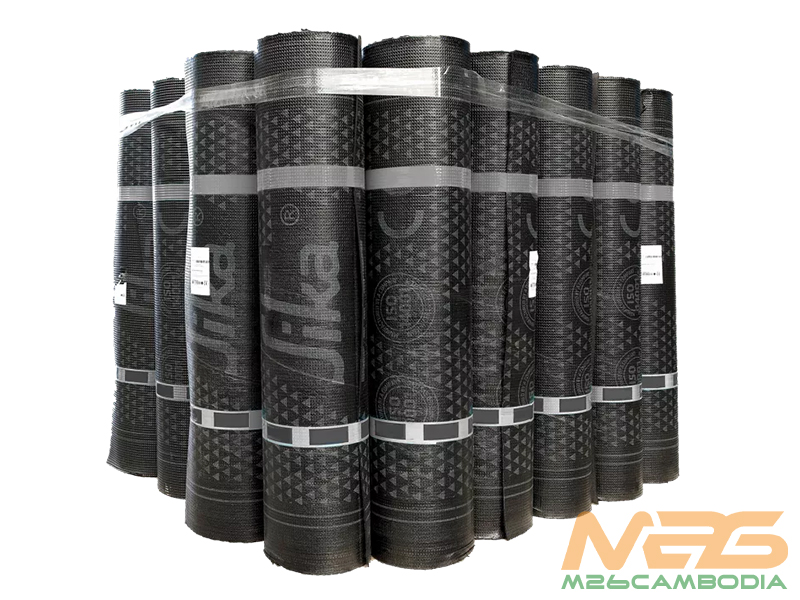
Sika Glass Mesh
Enhance waterproofing with Sika® Glass Mesh – superior reinforcement for Sika® Roofseal. Elevate your construction project today.
| BRAND | |
|---|---|
| PACKAGING | 100 m/roll |
SIKA GLASS MESH – GLASS FABRIC FOR ACRYLIC ELASTIC WATERPROOF
DESCRIPTION
Sika Glass Mesh is a woven glass membrane that acts as a reinforcement layer for Sika Roofseal and Sika Acrylic Elastic waterproof membranes. Its primary purpose is to bridge cracks, bolstering the overall waterproofing performance of these systems.
APPLICATION
Sika Glass Mesh finds its ideal application on roofs where Sika® Roofseal is being used. It excels when applied to construction joints, cracks, and corner fillets, ensuring a seamless and durable waterproofing solution.
ADVANTAGES
Enhancing Sika Roofseal and Sika® Acrylic Elastic waterproof membranes with Sika® Glass Mesh offers several distinct advantages:
- Crack Bridging: The mesh reinforces the membrane, allowing it to bridge cracks effectively, preventing water ingress and ensuring long-lasting performance.
- Durability: Sika® Glass Mesh significantly increases the overall lifespan of the waterproofing system, reducing maintenance costs over time.
- Versatility: Whether you’re working on new constructions or repairing existing structures, Sika® Glass Mesh adapts seamlessly to various roofing scenarios.
PRODUCT INFORMATION
Sika provides essential information about Sika Glass Mesh to assist construction professionals in making informed decisions:
- Construction Warp: ECG 150 1/0 (33.75 Tex)
- Fill: ECG 75 1/0 (68 Tex)
- Fibre Type: Leno KN 109-AC
- Packaging: 100 m/roll
- Shelf Life: The product has no expiration date if stored properly.
- Storage Conditions: Store in dry conditions at temperatures between +5°C and +30°C.
- Density: Warp (2) 9 ± 0.5 per inch, Fill 9 ± 0.5 per inch
- Dimensions: Width 1140 mm, Thickness 0.1 ± 0.02 mm.
TECHNICAL SPECIFICATIONS
For a more detailed understanding of Sika Glass Mesh’s capabilities, here are its technical specifications:
| Property | Value |
|---|---|
| Tensile Strength Warp | 20 Kg/Inch (Min.) |
| Tensile Strength Fill | 30 Kg/Inch (Min.) |
Please note: All technical data provided here is based on laboratory tests and actual measured data may vary due to circumstances beyond our control.
CONSTRUCTION INSTRUCTIONS
Surface Preparation:
Before you begin the installation of Sika® Glass Mesh, thorough surface preparation is essential. Follow these steps:
- Ensure that the surface is clean, free from dust, debris, and any contaminants. Use a broom, vacuum, or compressed air to remove loose particles.
- Repair any existing cracks, holes, or defects in the substrate using an appropriate patching or filling compound. Allow these repairs to cure completely according to the manufacturer’s instructions.
- Check the surface for moisture or dampness. It should be completely dry before proceeding with the installation.
Priming (if required):
- Depending on the specific conditions and the type of substrate you are working with, you may need to apply a primer. Sika provides a range of suitable primers for various substrates. Follow the manufacturer’s guidelines for the chosen primer.
Application of Waterproofing Membrane:
Apply the Sika® Roofseal or Sika® Acrylic Elastic waterproof membrane according to the manufacturer’s instructions. Pay close attention to the following:
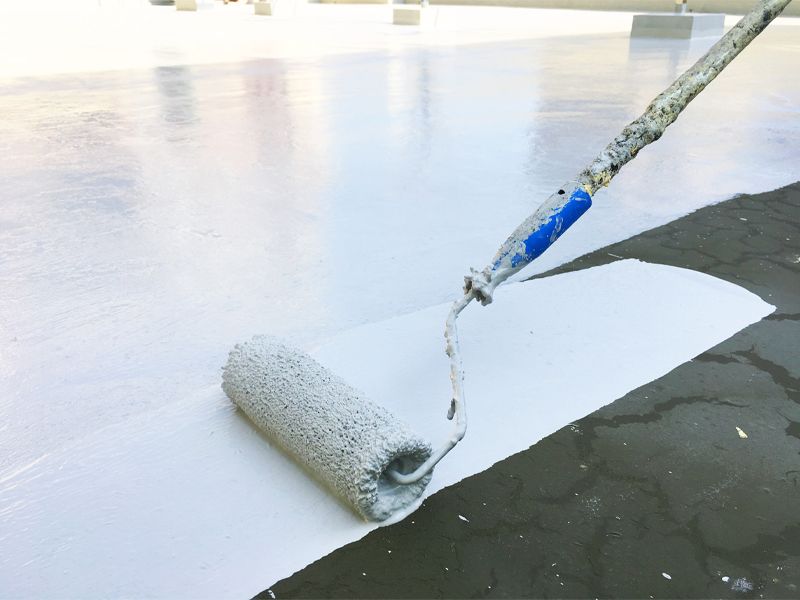
- Use the appropriate tools, such as a brush or roller, for applying the membrane evenly and consistently.
- Follow the recommended coverage rates and thickness to ensure proper waterproofing performance.
- Overlap the membrane at seams and edges as required for a continuous and leak-proof barrier.
Positioning Sika® Glass Mesh:
Now, it’s time to install Sika® Glass Mesh over the freshly applied waterproof membrane. Here’s how to do it correctly:
- Unroll the Sika® Glass Mesh over the waterproof membrane, ensuring it covers the areas where additional reinforcement is needed, such as construction joints, cracks, and corner fillets.
- Position the mesh with care, making sure it aligns properly with the intended coverage area.
- Allow for an overlap of at least 50mm (2 inches) at the seams or edges for secure adhesion and improved performance.
Secure the Mesh:
To ensure the Sika® Glass Mesh adheres effectively to the waterproofing membrane:
- Gently press the mesh into place with a suitable tool or your hands.
- Work from the center towards the edges to remove any air bubbles and wrinkles.
- Ensure that the mesh lays flat and smoothly on the membrane surface.
Edge Sealing:
To guarantee the waterproofing system’s integrity, seal the edges of the Sika® Glass Mesh:
- Use a compatible sealant recommended by Sika to secure the edges of the mesh, preventing any water ingress.
- Apply the sealant in a consistent and continuous bead, fully covering the edges of the mesh.
Final Inspection:
Once you’ve installed the Sika® Glass Mesh, conduct a thorough final inspection to ensure a successful application:
- Carefully check the entire mesh installation to ensure it’s securely adhered to the waterproof membrane without any loose areas.
- Confirm that all edges are sealed with the recommended sealant.
- Look for any air bubbles, wrinkles, or imperfections and address them as needed.
Following these detailed construction instructions will help you achieve a flawless installation of Sika® Glass Mesh, enhancing the waterproofing performance of your roofing project and ensuring long-lasting protection against water intrusion.
Reviews
There are no reviews yet.